I’m a very lazy person, so when it comes to my nails I want something quick and easy that will last as long as possible. I can’t be dealing with chipped nail polish – I don’t have the time to take it off and reapply constantly – having perfect nails every day of our lives is super difficult! Since discovering SensatioNail, life is very different for me.
When I was younger, I used to have acrylics done at nail salons because they looked perfect for 1-2 weeks (until they started growing out obvs). I then discovered gel nails and in particular, a brand called SensatioNail who promised salon gel results at home. I was sold! I purchased a starter kit for around £60 and it became my saviour.
Unfortunately, as I had a job that was fairly hands on with keys, I was unable to keep my nails perfect – even gels – so I stopped using my SensatioNail kit as much. I also only had limited colours (my collection had grown to red, pink and turquoise by this point) and buying a large selection of colours would get too expensive and defeat the object of me doing it at home.
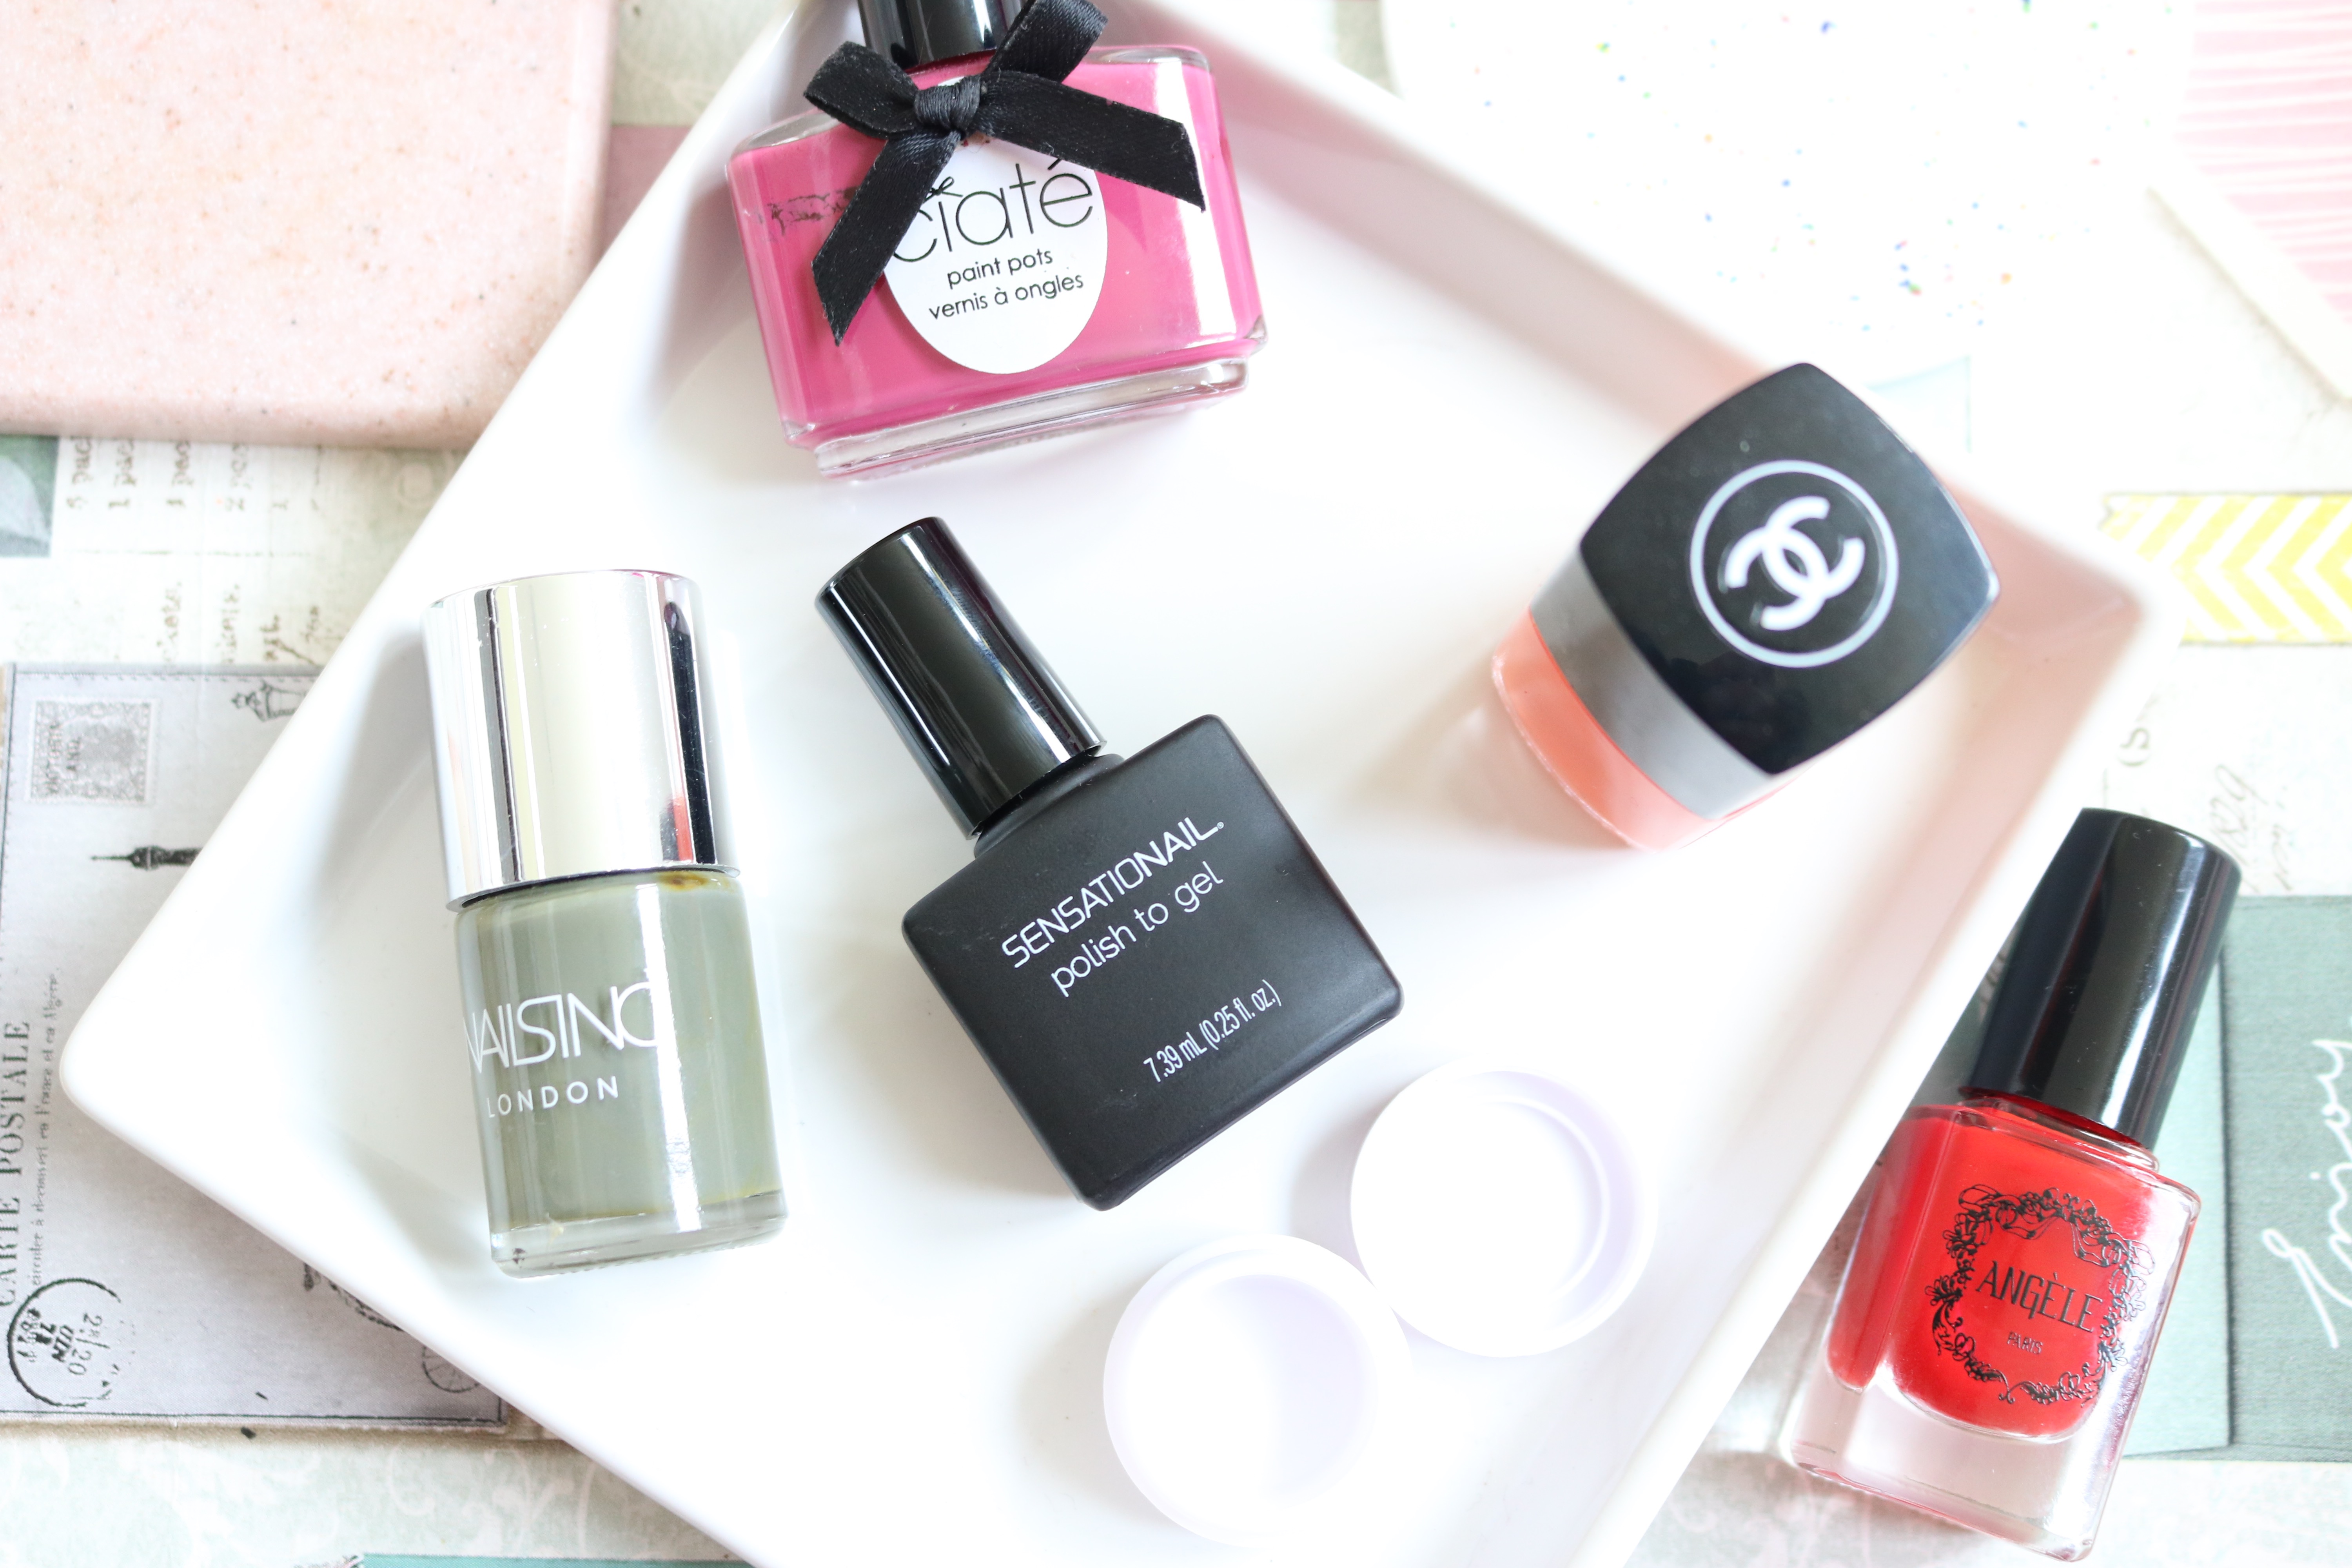
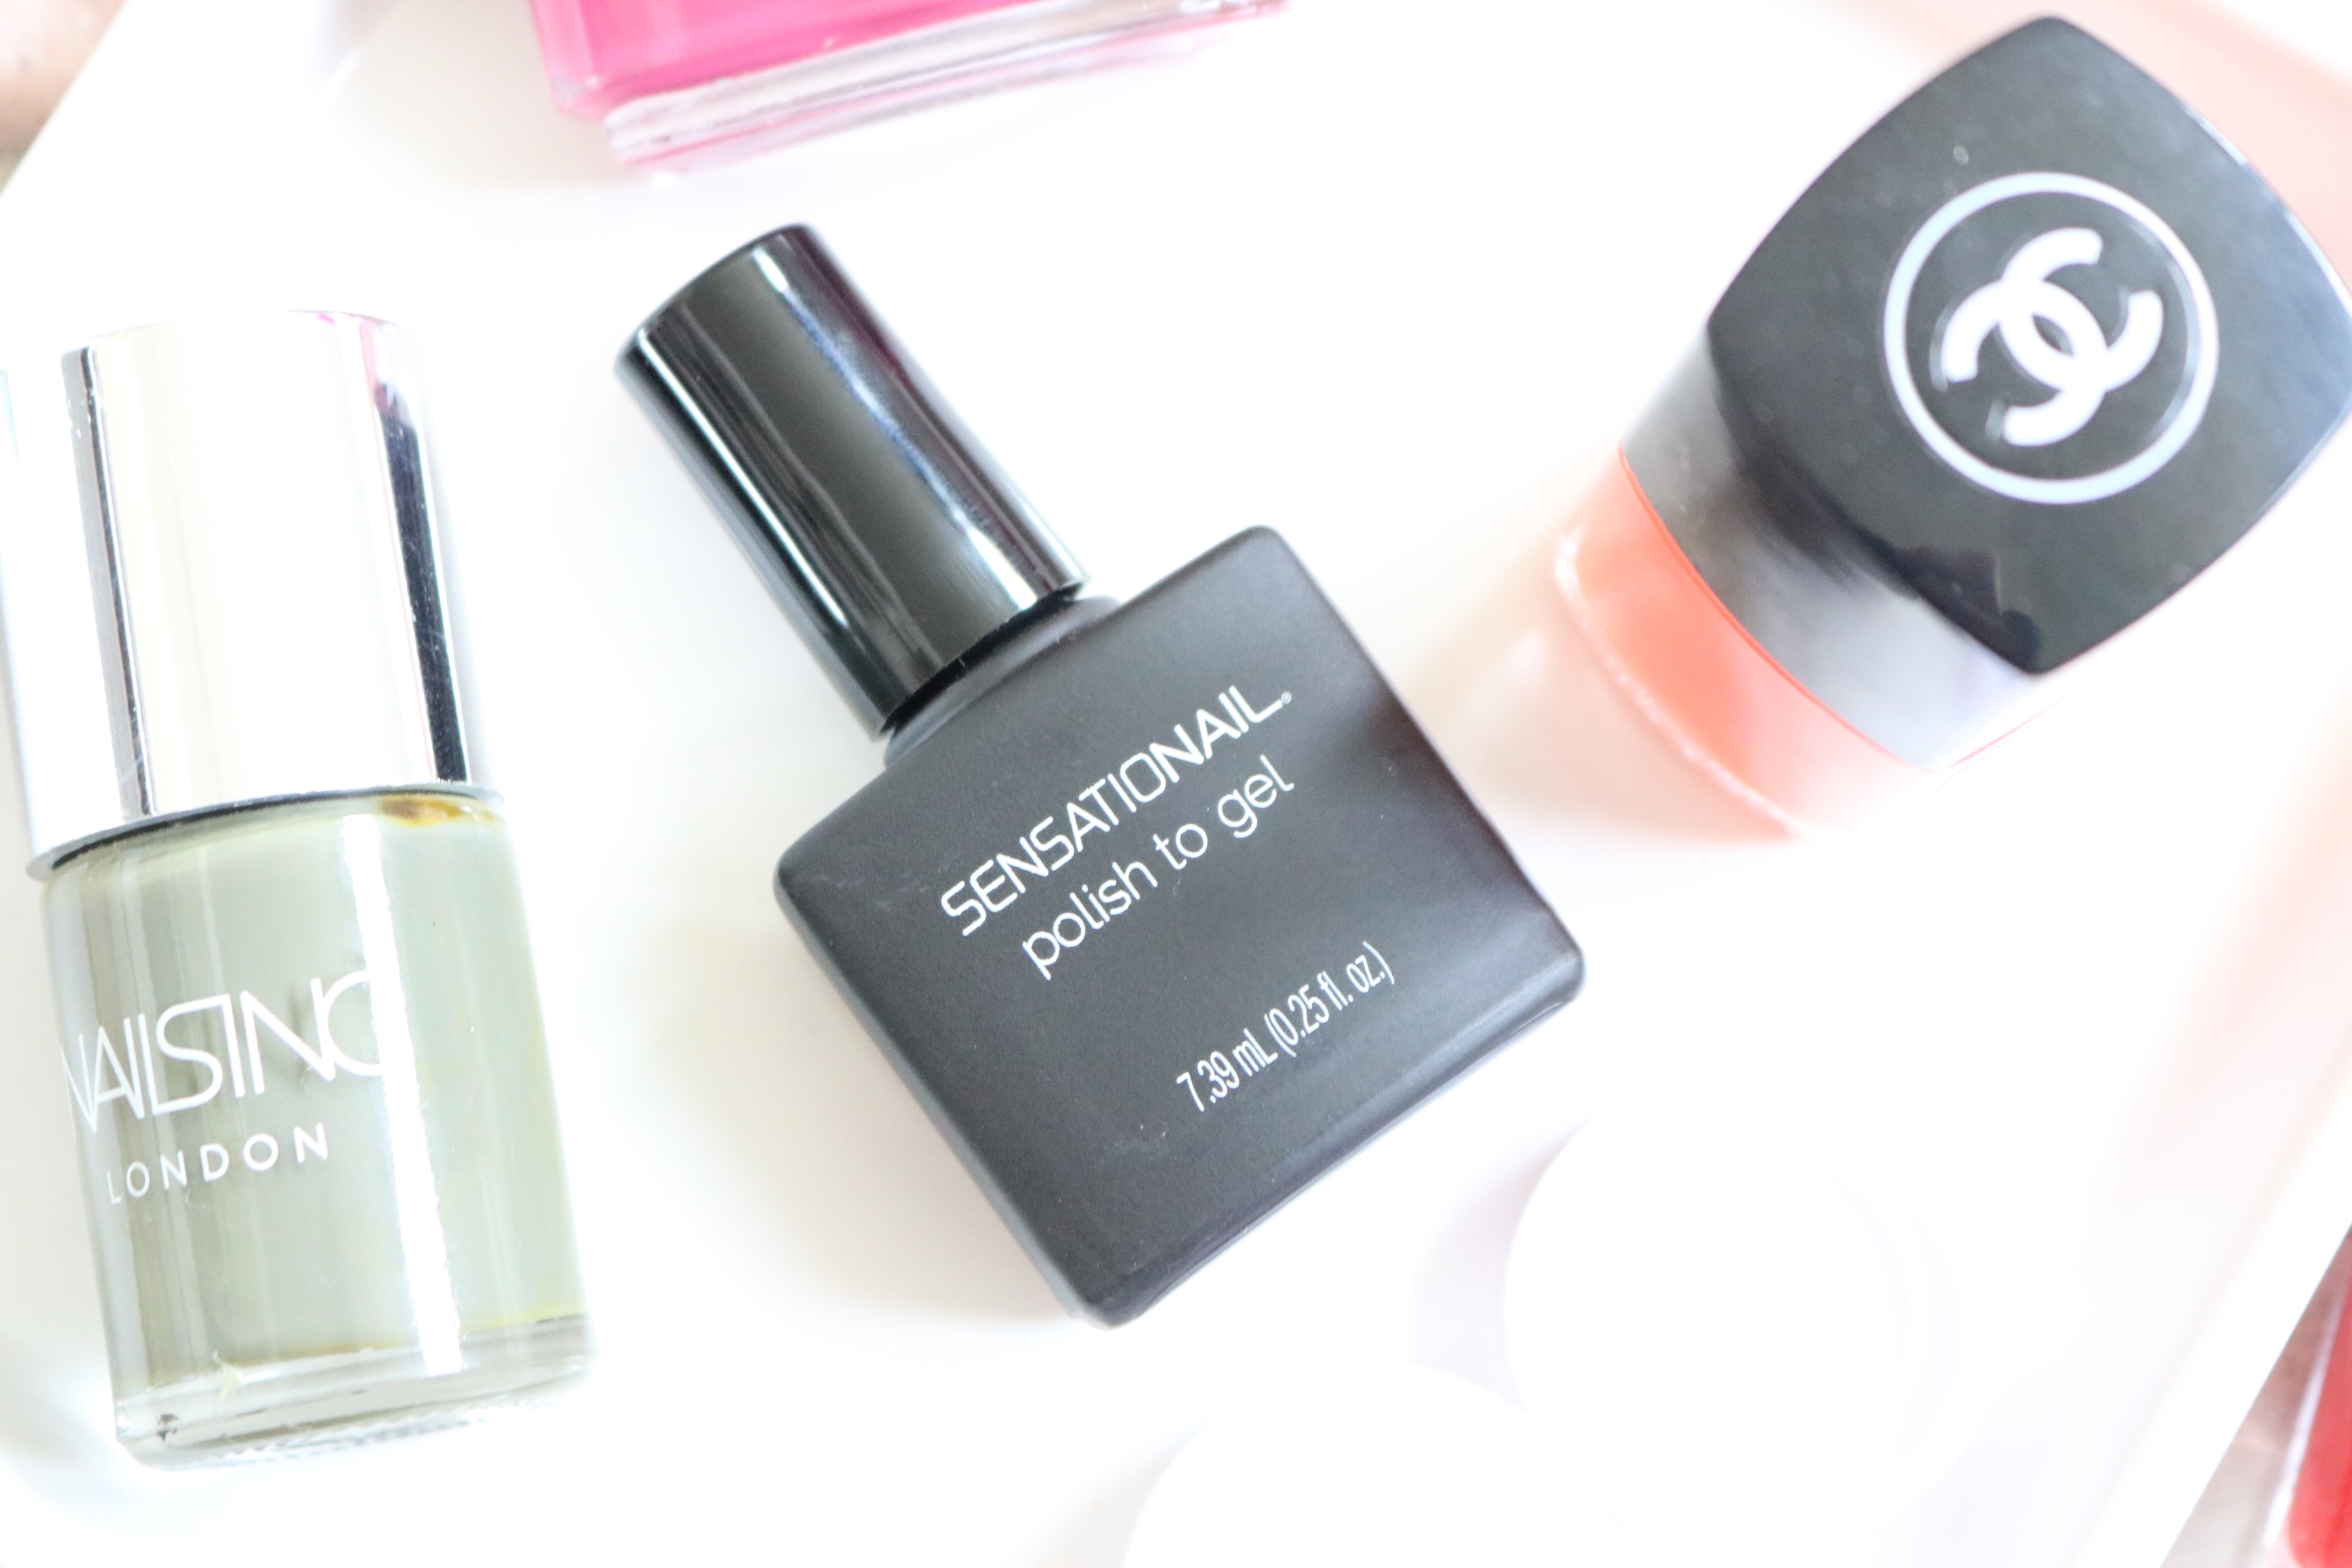
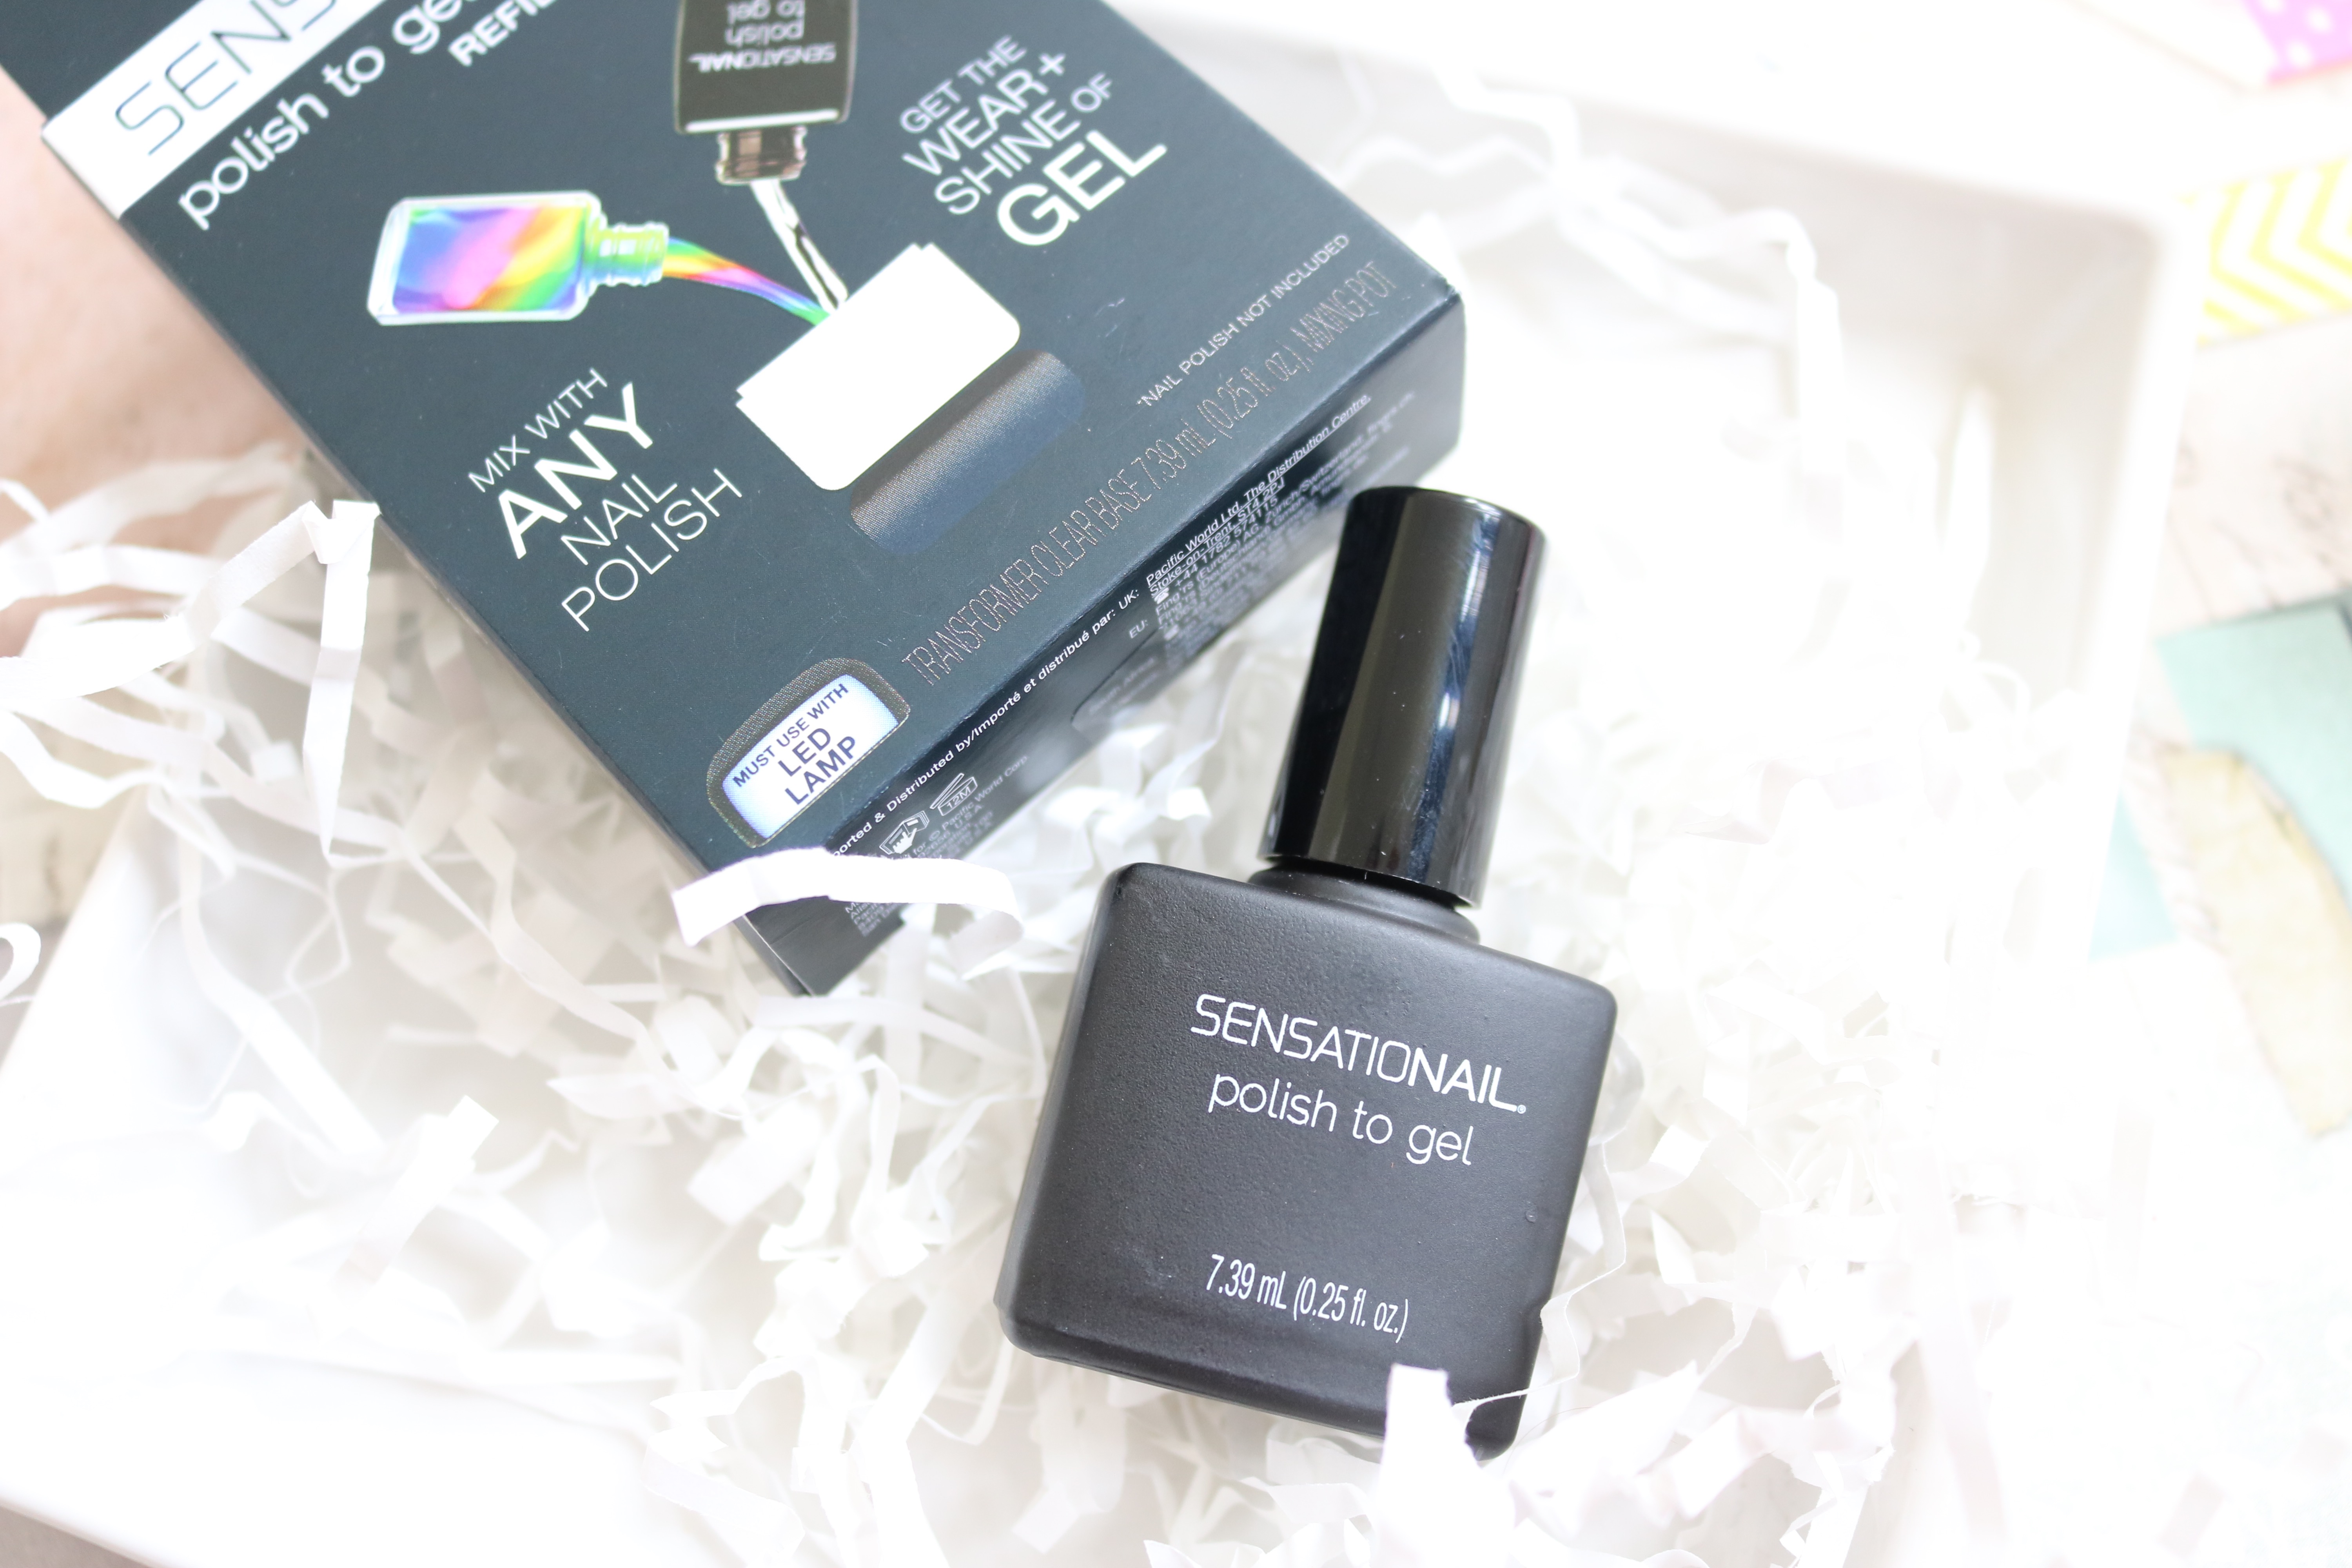
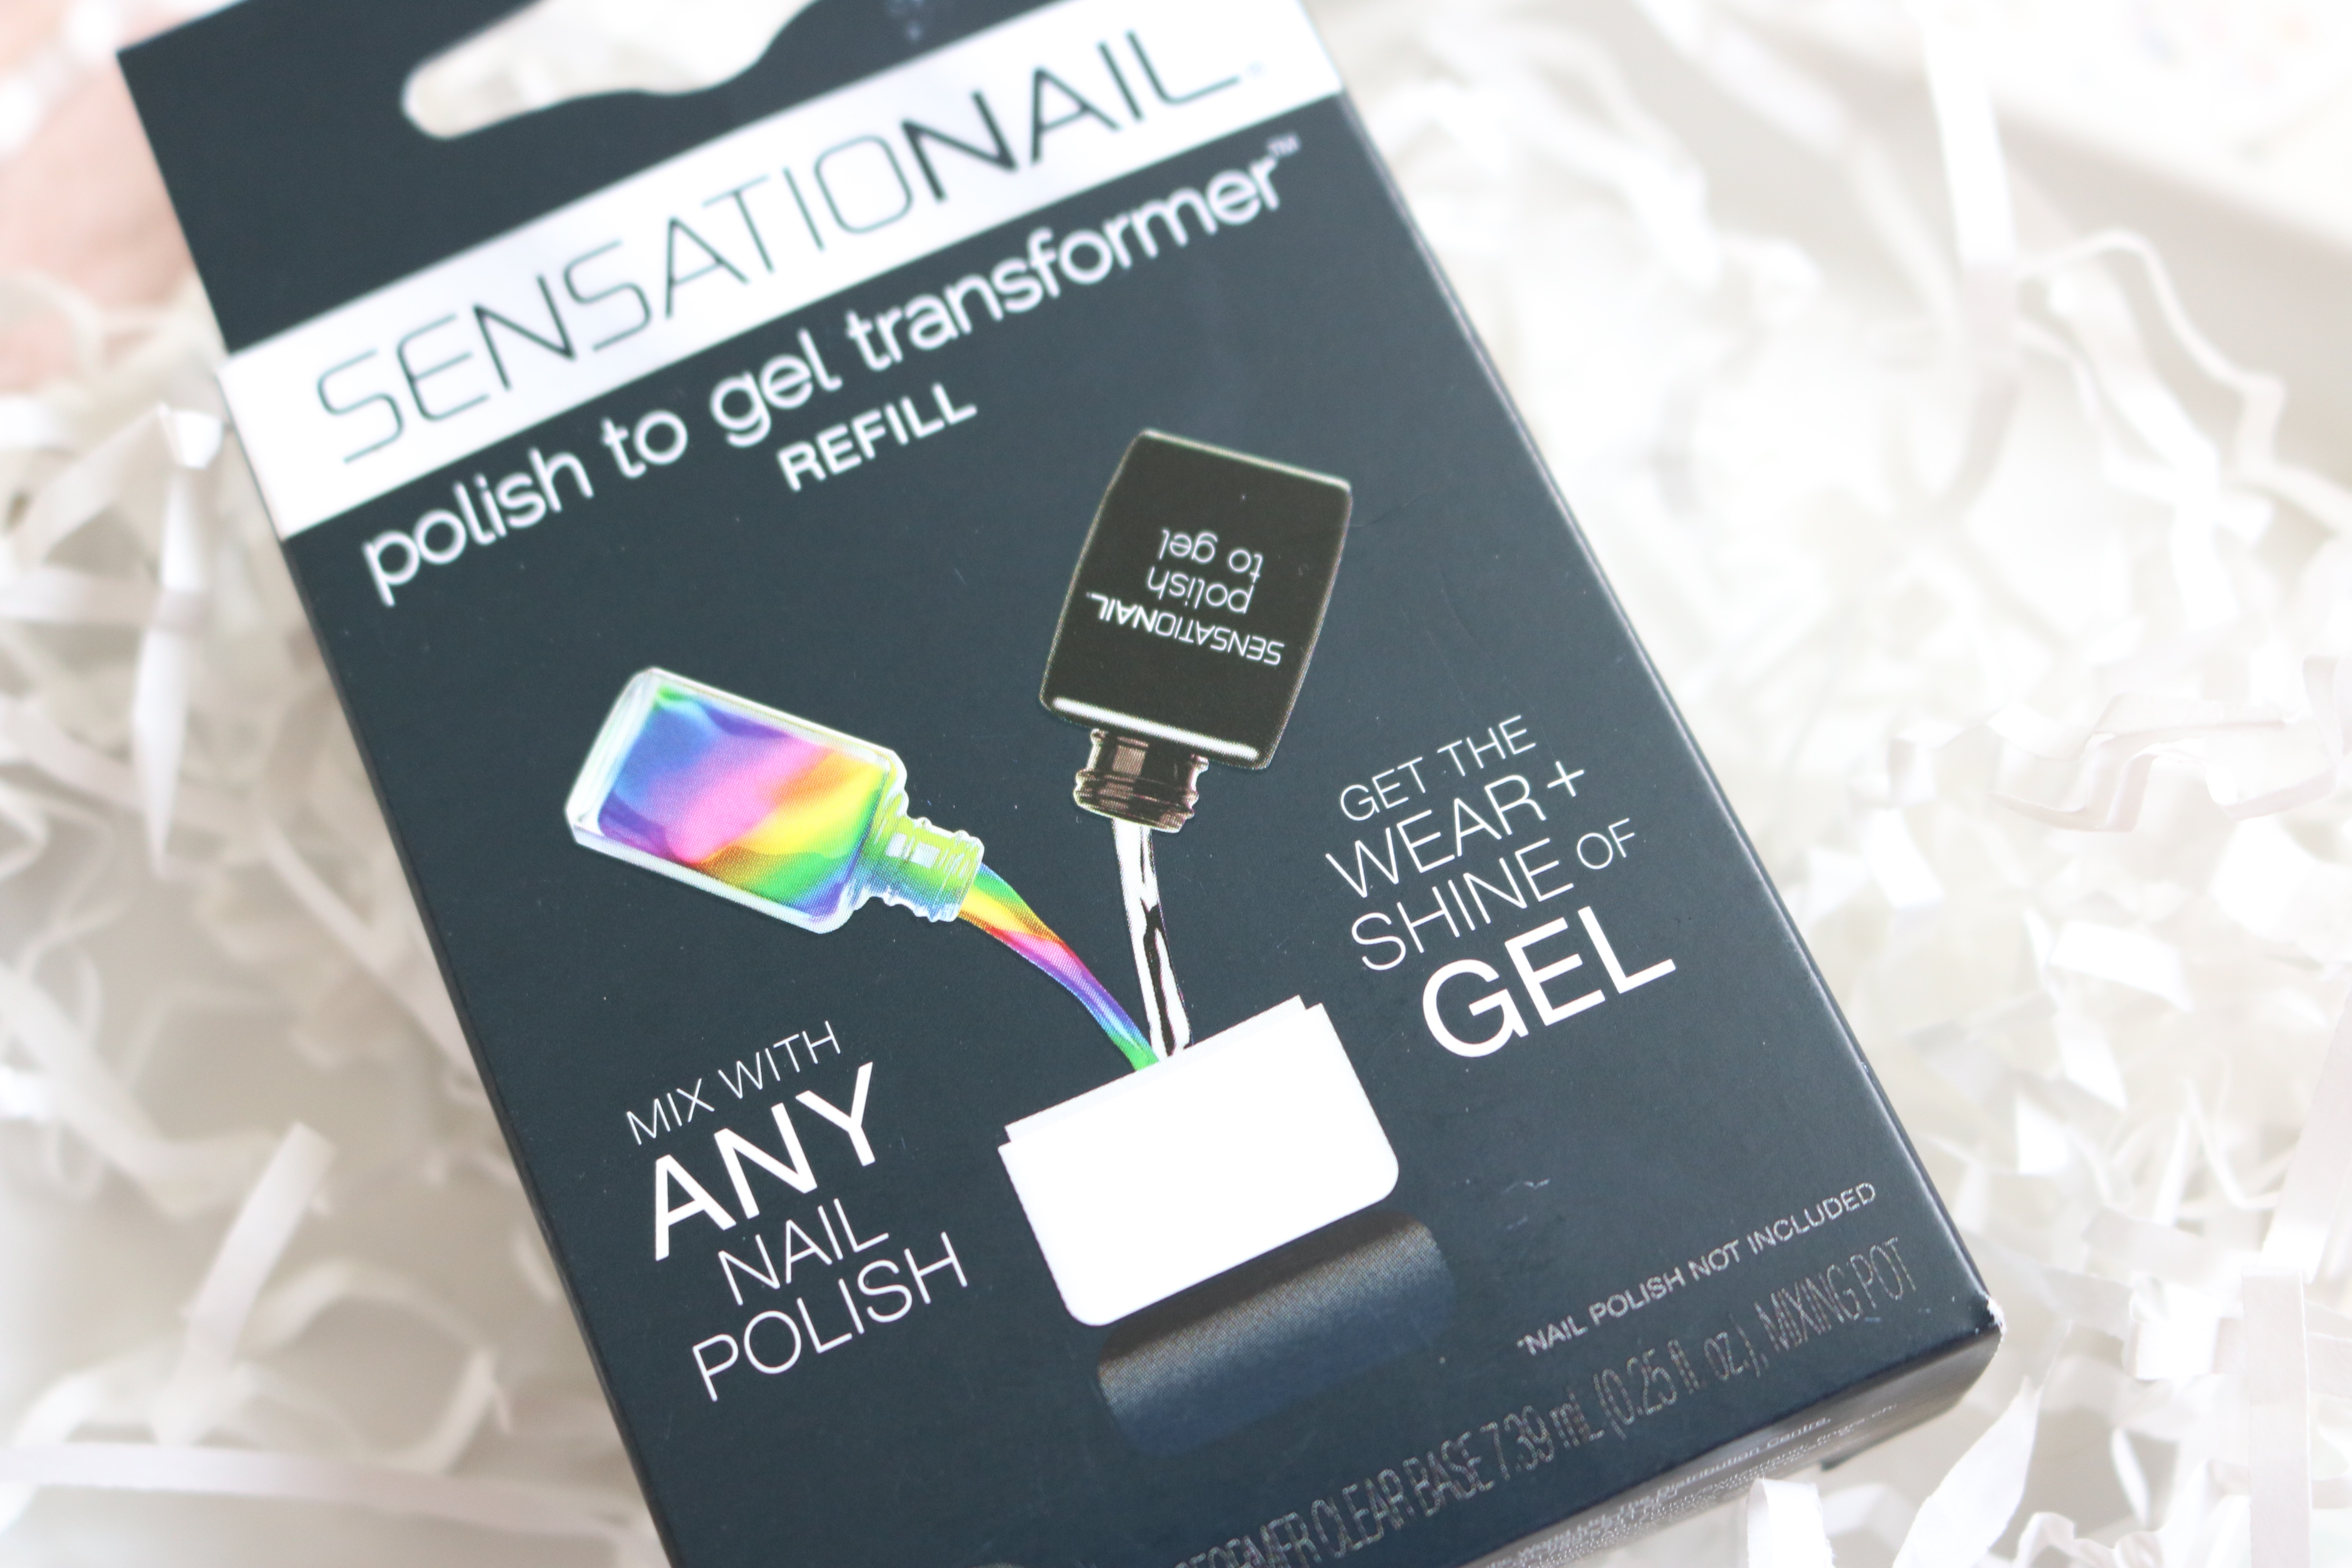
When I attended #BLFW, I was thrilled to see SensatioNail exhibiting, so I could have a chat to the representatives. The woman I spoke to quickly told me about a new product they have that turns ANY nail polish into a gel nail. Yes, you read that right – ANY nail polish! I could use the nail polishes I already own and turn them into a long lasting, chip free, shiny gel nail! MY DREAMS HAD COME TRUE! As I already owned the lamp, I was kindly gifted the Polish to Gel* to take home and try!
There’s two ways this works: paint it over the top of a layer of normal nail varnish, or mix it 50/50 with your chosen nail polish and finish off with a top coat.
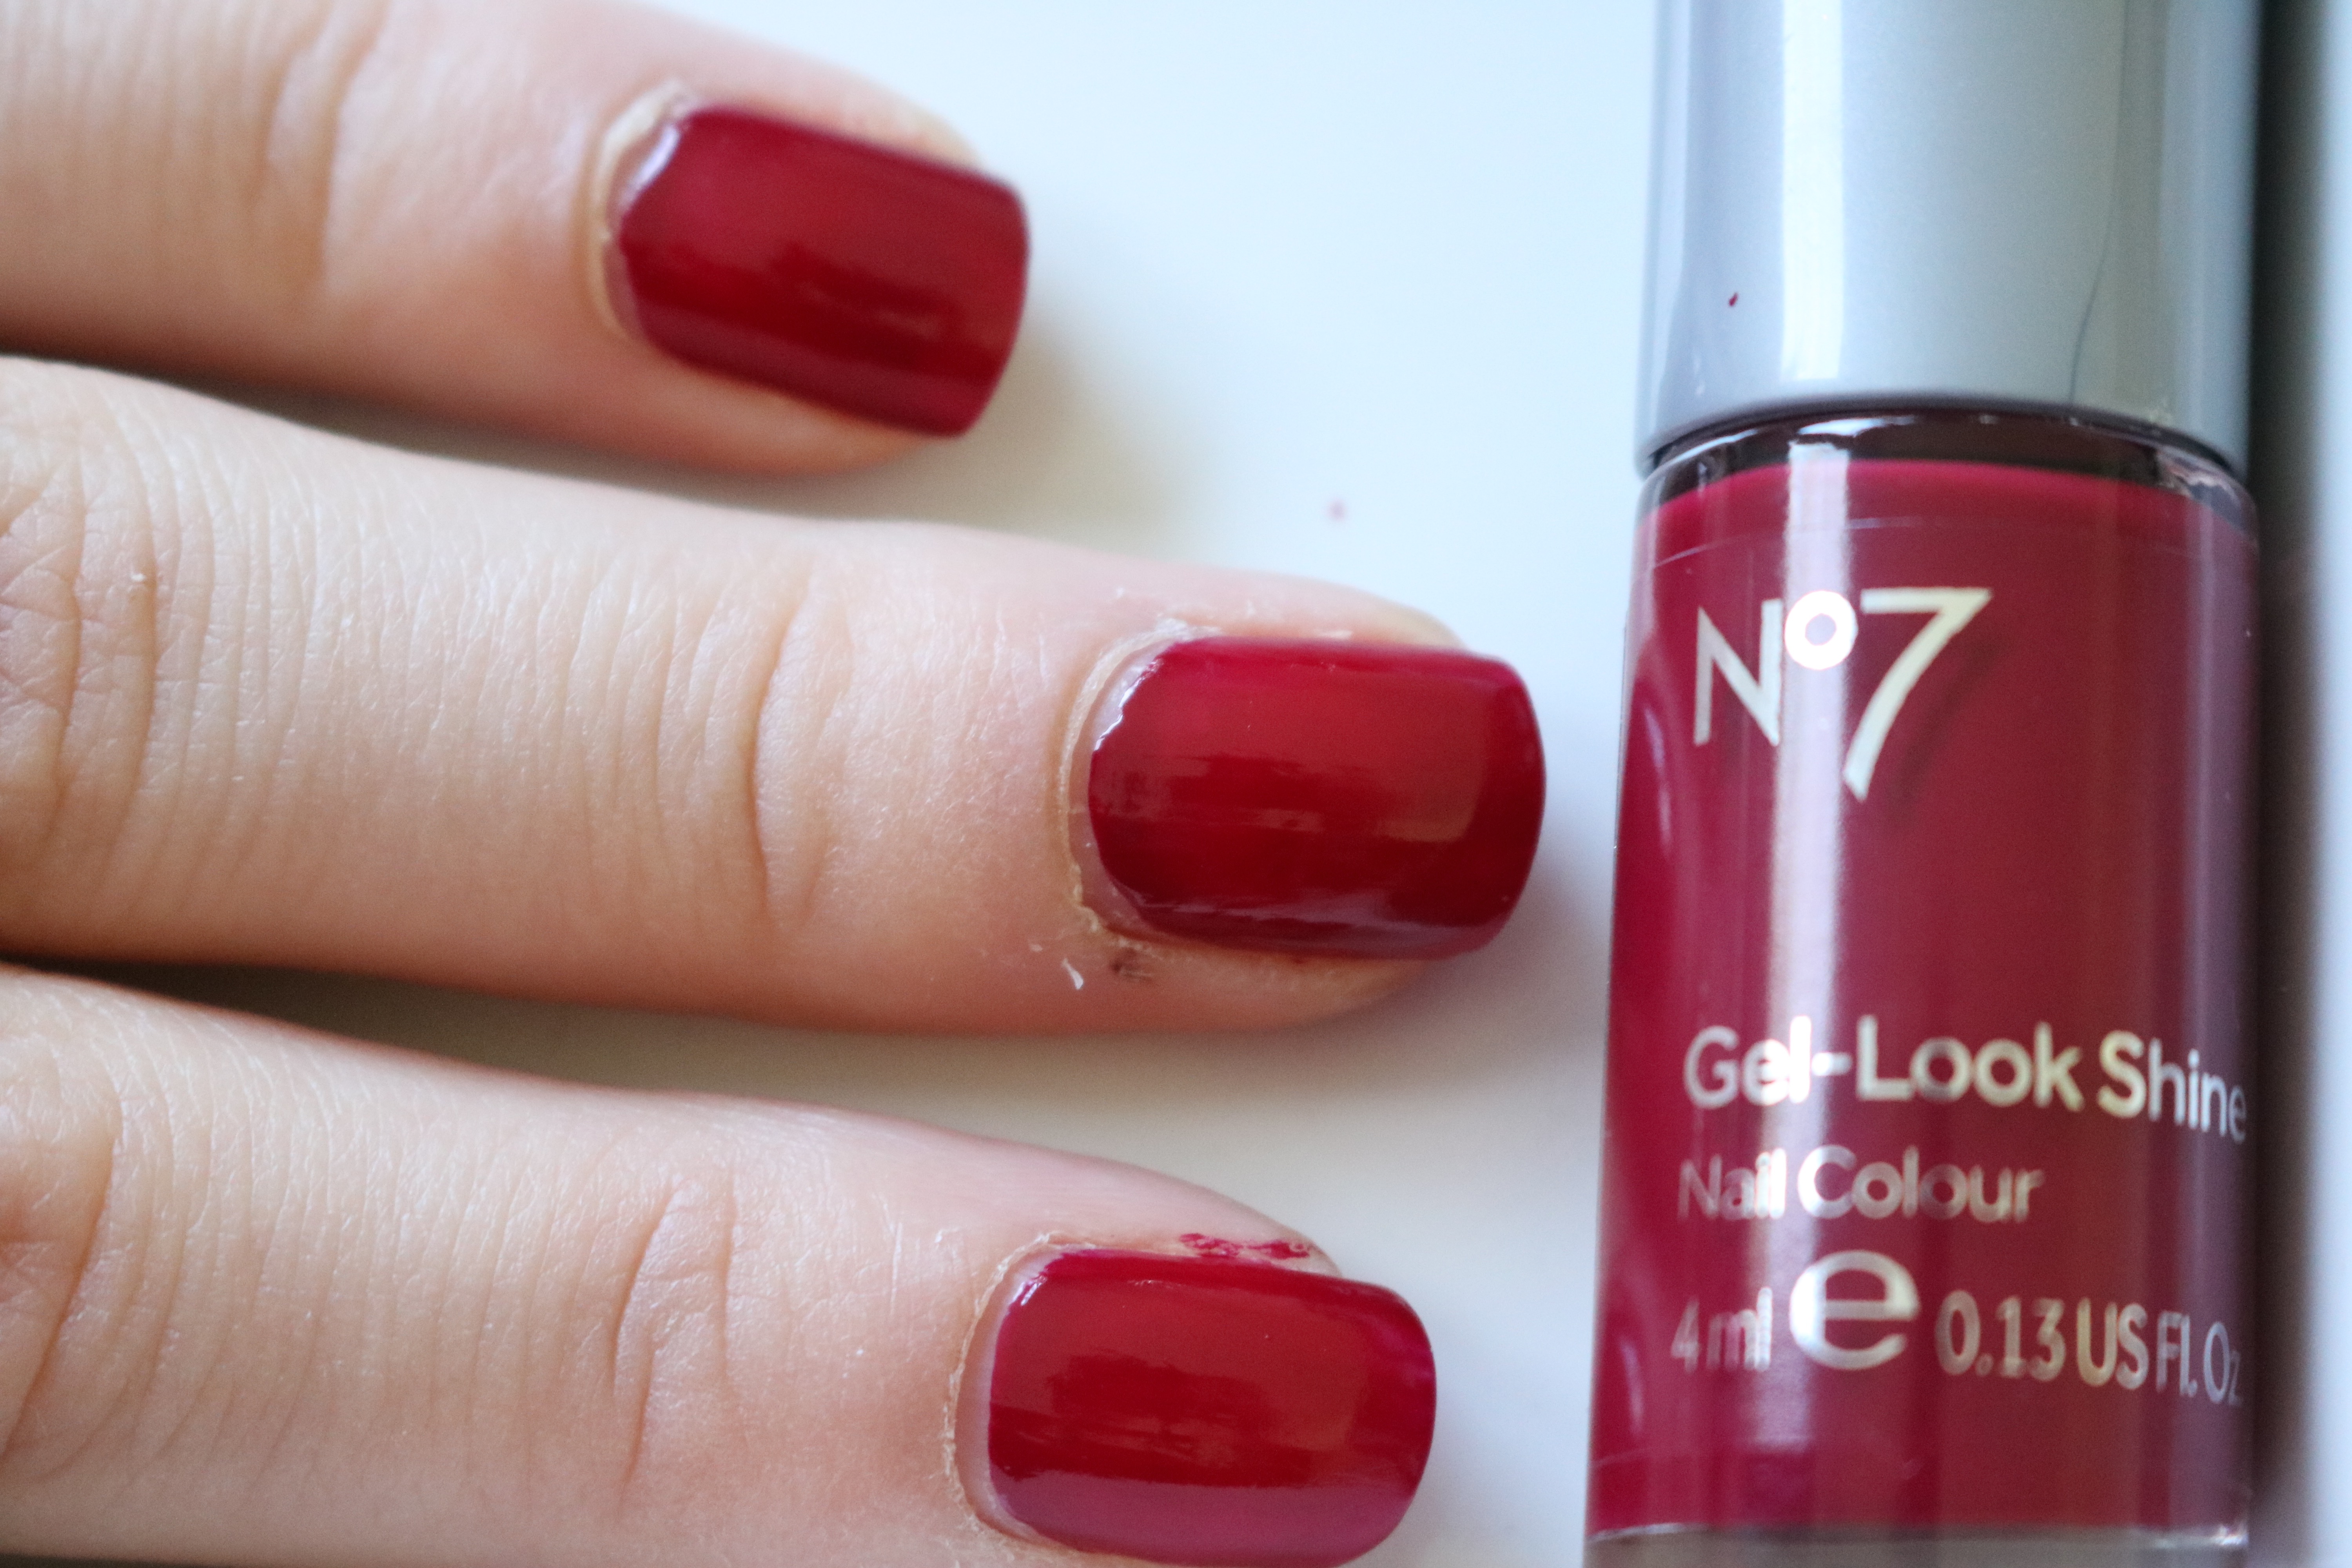
I thought I would first of all try out the easy way – painting a layer over my freshly applied nail polish. I chose No7’s Deep Wine as I wanted a professional colour for work. I painted a thin layer of Polish to Gel over each nail (make sure your nail polish is completely dry before doing this!) and cured under the lamp. I then used normal nail polish remover to make sure any excess tacky polish was removed. And voila! Gel nails! It really was that easy!
The results were good – the look of a gel nail (shiny, vibrant colour) but where there was only one layer of gel, it wasn’t too thick on the nail.
Although, this method wasn’t foolproof – I got my first chip two days later, and by a week nearly every finger had started to chip. Therefore the results weren’t as good as regular gel nails but still good if you need the colour and shine it gives you.

A few weeks later, I tried out the second method – mixing the Polish to Gel 50/50 with nail polish. Unfortunately, I couldn’t get this to set under the lamp whatsoever (maybe I mixed the wrong amounts?). Anyway, I think this is definitely best used as a top coat of your normal nail varnish!
I also need to give SensatioNail a big shoutout – my nail lamp pictured actually broke, and they sent me a new replacement out! Even better, the replacement is their brand new lamp – 2x faster, USB powered (so you can use the lamp from your laptop!), automatically turns off when you take your hand out the lamp and has a removeable bottom panel for doing your toes! Amazing!
Do you use SensatioNail products? If so, let me know what colours you would recommend in the comments below!
If you liked this post, why not check out my other nail posts?
You can follow me on – Instagram | Twitter | Pinterest | Bloglovin x
*This post contains PR samples/gifts. Please visit my disclaimer page for more information.